Hello, Artist! Are you exploring with watercolours and looking for new techniques to learn? Here is the ultimate guide to some of the easiest yet unique and beautiful watercolor techniques that you can master in no time!

Although you only need a brush and pigments to get started, watercolor is a material with many creative possibilities. By incorporating household supplies into your painting, you can create work that has interesting textures as well as fluid, carefree colors that showcase the best attributes of the medium.
Basic Tips While Using Water Colors:
-
Buy a range of brushes
-
Get some good quality paints
-
Finding the right water/paint ratio
-
Explore dry versus wet
-
Work from light to dark
-
Stock up on paper towels
-
Splatter your watercolours
-
Bleed colours into one another
-
Get the textures right

Here are 8 Beautiful and Simple Watercolor techniques that you need to know:
Adding Texture with Salt :
When salt is sprinkled on a wet wash, it starts to gather the watercolour pigments and makes the coolest texture! The effect will vary depending on the size of the grains of salt and the wetness of the paper, so experiment on scraps of watercolor paper before you commit on your final painting. Once the paint is dry, simply brush off the excess salt.

Splattering:
Splattering gives your painting an energetic vibe, but it's easier said than done — this technique can easily get messy and uncontrollable. But there are three approaches to making splattering more approachable.

Stippling:
Instead of applying lines or areas of paint, stippling is painting tiny dots in a concentrated area. Once you’ve painted many dots, you’ll have a saturated color and fascinating texture. Stippling can be neat and tidy, or the marks can overlap in a more free form way. You can use a fairly dry brush for more defined dots or a wet brush for a looser look. And of course, the size of the brush you choose will determine the size of your dots, so choose carefully.

Feathering:
If you’re going for a gradient that goes from a saturated color to a more transparent hue, adding more paint won’t do the trick. What you need is water. Start with a strong area of color and then use a clean, wet brush to “diffuse” the color, making a gentle gradient or “feathering” effect.

Watercolor Blooms:
Watercolour blooms or blossoms like these happen when very wet paint spreads on a drier (but not completely dry) area of a painting. When you apply wet paint on a still-damp wash, the liquid forces the original pigment out, and it creates these fun, irregularly shaped splotches.
First, lay down a colorful wet wash and let it dry a little. Then load your brush with water and touch it lightly to the paper. The drops of water will create sharply defined blooms. How dry the underlying wash is determines the hardness of edges.
You can also do the same thing with two colors: Apply the first and let it dry a bit. Then apply a wet wash of a different color right next to the first one, so that they come in contact. The wetter of the two washes will flow into the other.

Layering Watercolors:
Once a color of paint has dried, you can add layers of watercolors to create dimension, texture and color variation. Just know that the paper has to be completely dry in between washes so that the colors don’t blend together and get muddy. Wait until your initial color has dried completely (not damp — dry!), then paint the second color on top. Just don't add much water to the second color since this can re-wet the initial color and make the two blend.

Gradients and Color Blending:
A simple watercolor wash uses just one color, but you can add depth to your work by using more hues in a gradient. Start by adding fresh watercolour to a wet paint surface. Then place the second color — either a more intense version of the same hue or a different hue entirely — right beside the first color. Because the paints are on a wet surface, they'll blend slightly and create a natural gradient in the tones. You can control how neat or painterly a gradient comes out by the wetness of the paint.

Wet-In-Wet Watercolor Painting:
Wet-in-wet painting is one of the most basic techniques — so basic you might have already done it before without realizing it! Start by brushing water (and only water) onto your paper. Then dip your brush in paint and spread it over the water wash. The paint will feather and diffuse like magic.

We hope you have enjoyed this watercolor tutorial on techniques to try! In addition to helping you get the hang of this complex, yet intriguing medium, we hope it has also inspired you. You’re starting an exciting new journey in your art adventure and we know that these tips and techniques will take you from beginner to beyond in no time at all.
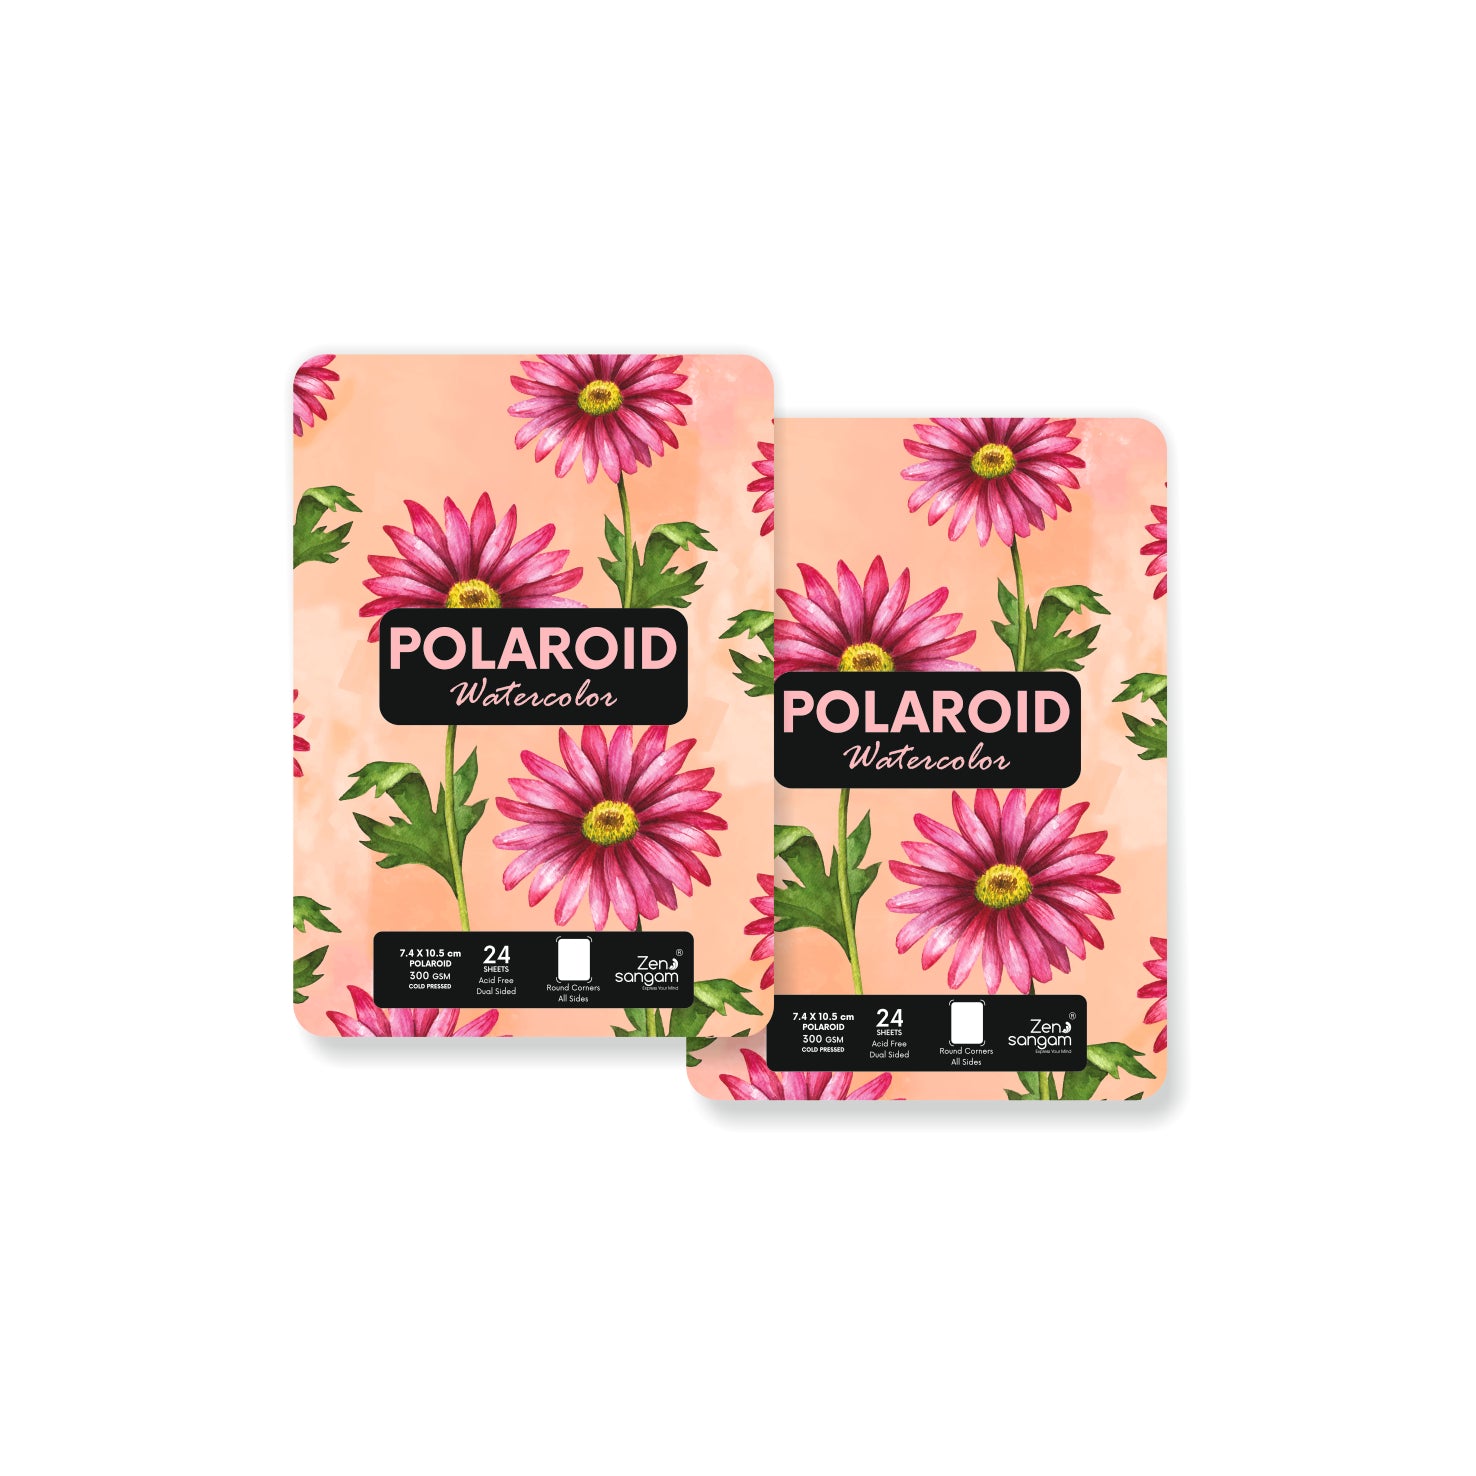
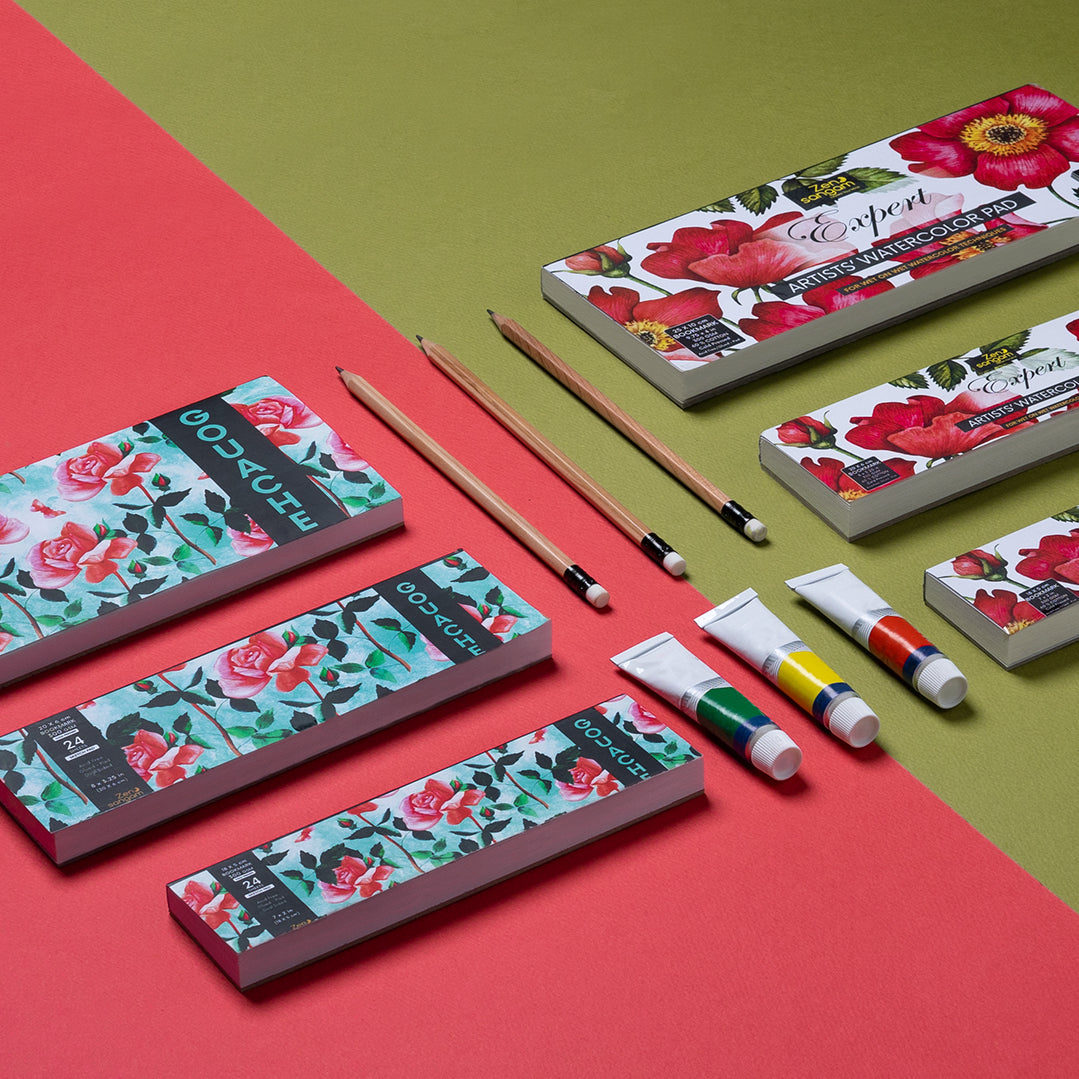
Good Quality Art Paper is a definite must to achieve success with Watercolours! Check out Zen Sangam's Expert Watercolor Pad and Watercolor Sheets to get your painting journey started the perfect way!
If you want to know more about other media, refer these links:
Color Pencil Using Techniques for Beginners
Crayons Using Techniques for Beginners
Felt Tip Pens Using Techniques for Beginners
Markers Using Techniques for Beginners
Oil Pastel Using Techniques for Beginners
Glitter Pens Using Techniques for Beginners
Brush Pens Using Techniques for Beginners
Pencil Shading Using Techniques for Beginners
Charcoal Pencil Using Techniques for Beginners
Oil Painting Using Techniques for Beginners
Acrylic Painting Using Techniques for Beginners
Gouache Using Techniques for Beginners
To explore our Coloring Books
