An introduction to Watercolours:
Though an easy medium to come across, Watercolors are tricky to work with because the colours flow very quickly on the paper. But that's where it's beauty lies, since this is the very property of the medium that allows colors to blend beautifully.
Although some may find Watercolours to be less forgiving than media like Acrylics or Gouache, this too has some unique characteristics that make it wonderful in its own way.
Watercolors require us to be quick when we wish to rectify something. You can easily lift off excess paint when it is still wet using a clean damp brush or even a paper napkin. Once the paint has dried, you can not do much since it is a water-based medium. The paint cannot be reactivated with water after it dries like we can with gouache.
In this post, we’ll be learning about basics of Watercolour art supplies , some basic tips and lastly most popular Watercolor techniques.
Basic art supplies:
1. Watercolors – Watercolors are available in different grades. The Student grade may have less pigment while the Artist grade would be rich in pigment. As a beginner artist, it maybe overwhelming to invest in Artist grade supplies altogether. A suggestion would be to buy very limited (i.e., just the primary colours) from Artist grade and make up for the other shades with student grade paints. In fact, the primary colours alone can be mixed and changed in tonal value to create all other shades! Learn your colour chart well!
2. Brushes – Flat & Round tips are the most used brushes for Watercolors by beginners. Flat brush to wet wash the paper and doing a flat layer of colour. Round brushes for finishing the backgrounds, strokes, and elements of the painting. Round tips come in different sizes as well. You can go for one large round tipped brush and a detailer brush to add different details to your painting.
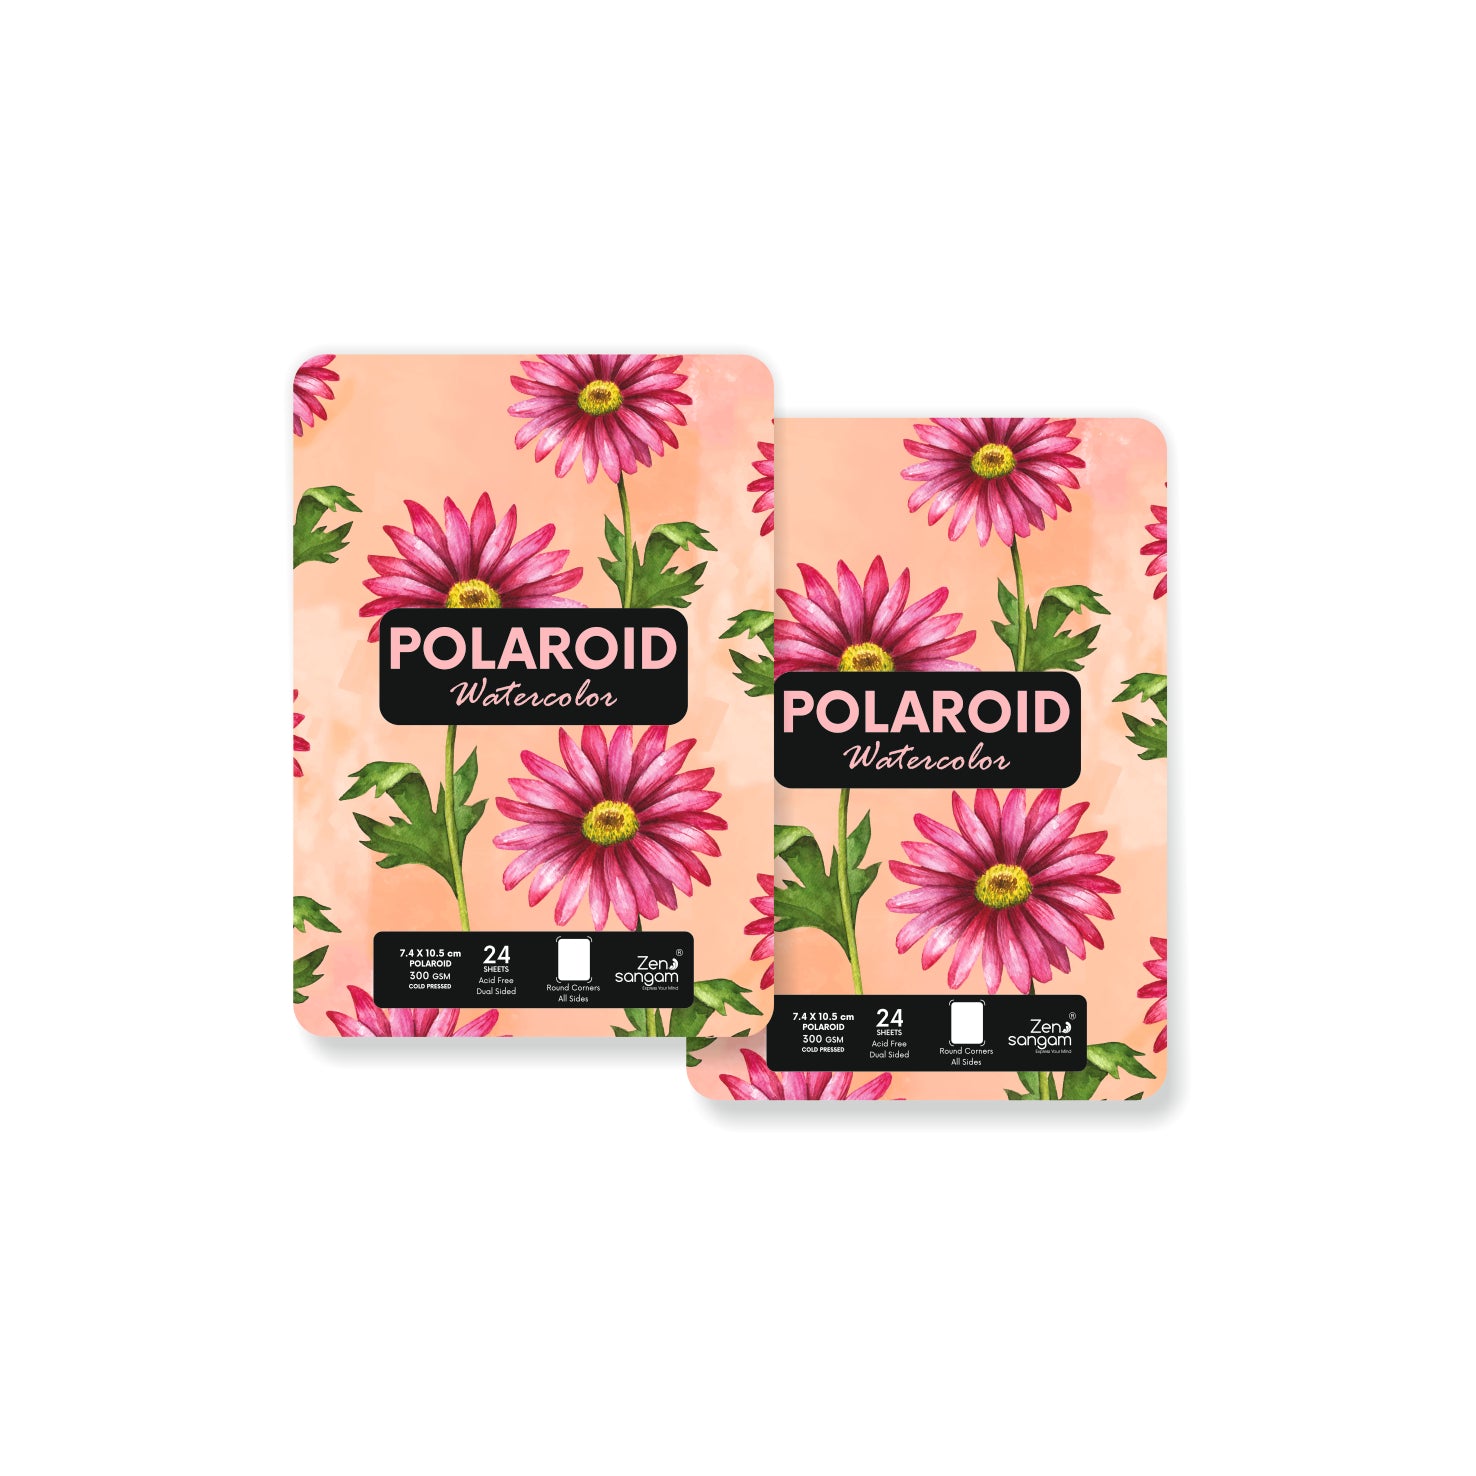
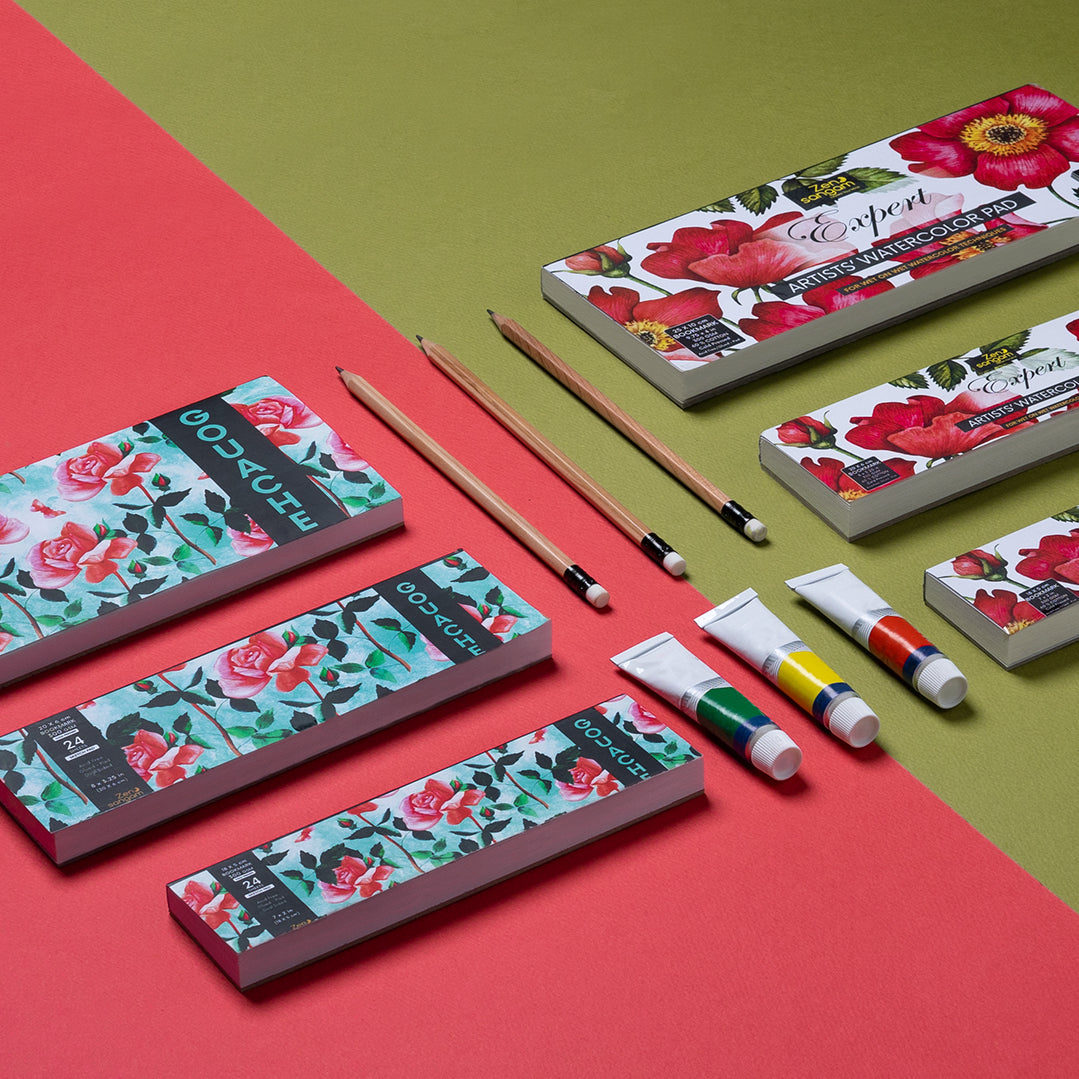
3. Paper - It is the most important material for Watercolors. If your paper isn't right, regardless of the paint and brush quality, your painting would never achieve the perfect finish. More often than not, beginner artists tend to blame their own skills when their initial attempts at watercolours fail, but the wrong paper would have been the actual mistake. It is very important to choose a watercolour paper with the following specifications if you want to create a masterpiece using watercolors: The paper should be equal to or above 245 GSM in thickness; should have a textured surface (technically referred to as cold pressed paper; and should be made of cotton (the higher the percentage of cotton, the more will be the paper's ability to stay wet for longer time and provide you enough room to create more layers, blend colours or make changes to your painting). Zen Sangam's Expert Watercolour Pad meets all of these specifications and allows you to create beautiful watercolour paintings without any colour bleeding or paper buckling!
4. Masking tape is an optional item. Using a masking tape helps in giving a clean, neat border to the painting which enhances its looks and also to hold the paper down on the surface to prevent it from buckling/curling when we load it with water. Even a 300 GSM, 100% Cotton paper may buckle slightly when lots of water is used. However, you can always keep the finished painting under heavy books overnight to straighten it out.
5. Water - It is recommended to have two jars of Clean Water before starting your painting. You can use one jar to clean off your brush and the other to add clean water to your paint to dilute it. Keeping two jars instead of just one ensures that you aren't slowly contaminating your paint with the ghost of old pigment. When you use a single water jar, you may end up adding muddy water to your painting which will ultimately ruin the painting.
Other necessary items are: Paper Napkins/Kitchen Tissues or any old cloth and a colour palette to mix the colours.
Most popular Watercolour techniques:
-
Flat wash – Take some colour and paint. As you can see in the below image, solid color with no/little water has been applied throughout the paper. The objective is to maintain a uniform shade without any gradations.

-
Graded wash – Take some color and make a thick line. Tone down the color on the paper with more water. As you can see in the image below, that the layer of colour has been thinned with water.

-
Wet on Wet technique – Apply some water on the paper area. Take some color on your brush and gently touch the damp paper with it. The color will spread on the paper. As you can see in the image below, this technique doesn’t leave any sharp ends on the edges.

-
Wet on Dry technique – We use dry paper and wet brush for this technique. Take enough water in the brush and pick some color and paint. There will be a bit of sharp edges but the painting wouldn’t be as flat & dry as flat wash technique.

-
Splatter - This technique is mostly used for making stars in galaxy, snow in winterscapes, giving glitter effect, sand and any random dots that is required on the painting. Pick some color in the palette and dilute it with very little water. Ensure that the consistency of colour is not very runny. Now take this thick paint in your brush and tap this brush gently with another brush to spray some random dots. You can also use toothbrush for this technique. Take colour in toothbrush and spray the stars.

A few tips for Beginner Watercolor Artists:
-
Always start painting from top to bottom on the paper.
-
Always paint from lighter shade gradually moving on to the darker value.
-
While thinning the watercolor, add some water on the palette and then add color to it, and not vice-versa.
-
Build the values layer by layer to reach the right effect because otherwise one can end up with dark areas that were meant to be light.
-
Save the white of the paper for white areas/highlights because once the colour hits it, the original white is lost.
-
Before starting to paint, study the picture very carefully to understand the different values of colors and perspective.
-
Draw the elements/scenery very light on the paper with a pencil because Watercolor is a highly transparent medium and dark pencil lines can neither be erased nor covered with paint once the artwork is finished.
-
If there is a need to draw on the painting with a pen, use technical pens. Normal pens smudge because of water on the paper.
-
Don’t overwork your paintings
-
For dark tones, avoid using pitch black. Black could be mixed or blended with brown tone to give a more realistic look to the painting.
-
The final painting should be done in 2 parts always, a background (like sky, water etc.) and the foreground (like trees, buildings, animals, birds etc.) Make sure that the background has dried/ damped before starting to paint the foreground.
-
Be patient!! Watercolors need a lot of patience 😊 and most importantly, do not forget to enjoy the whole process!
You’re starting an exciting new journey in your art adventure and we sincerely hope that these tips and techniques will take you from beginner level to expert very soon!
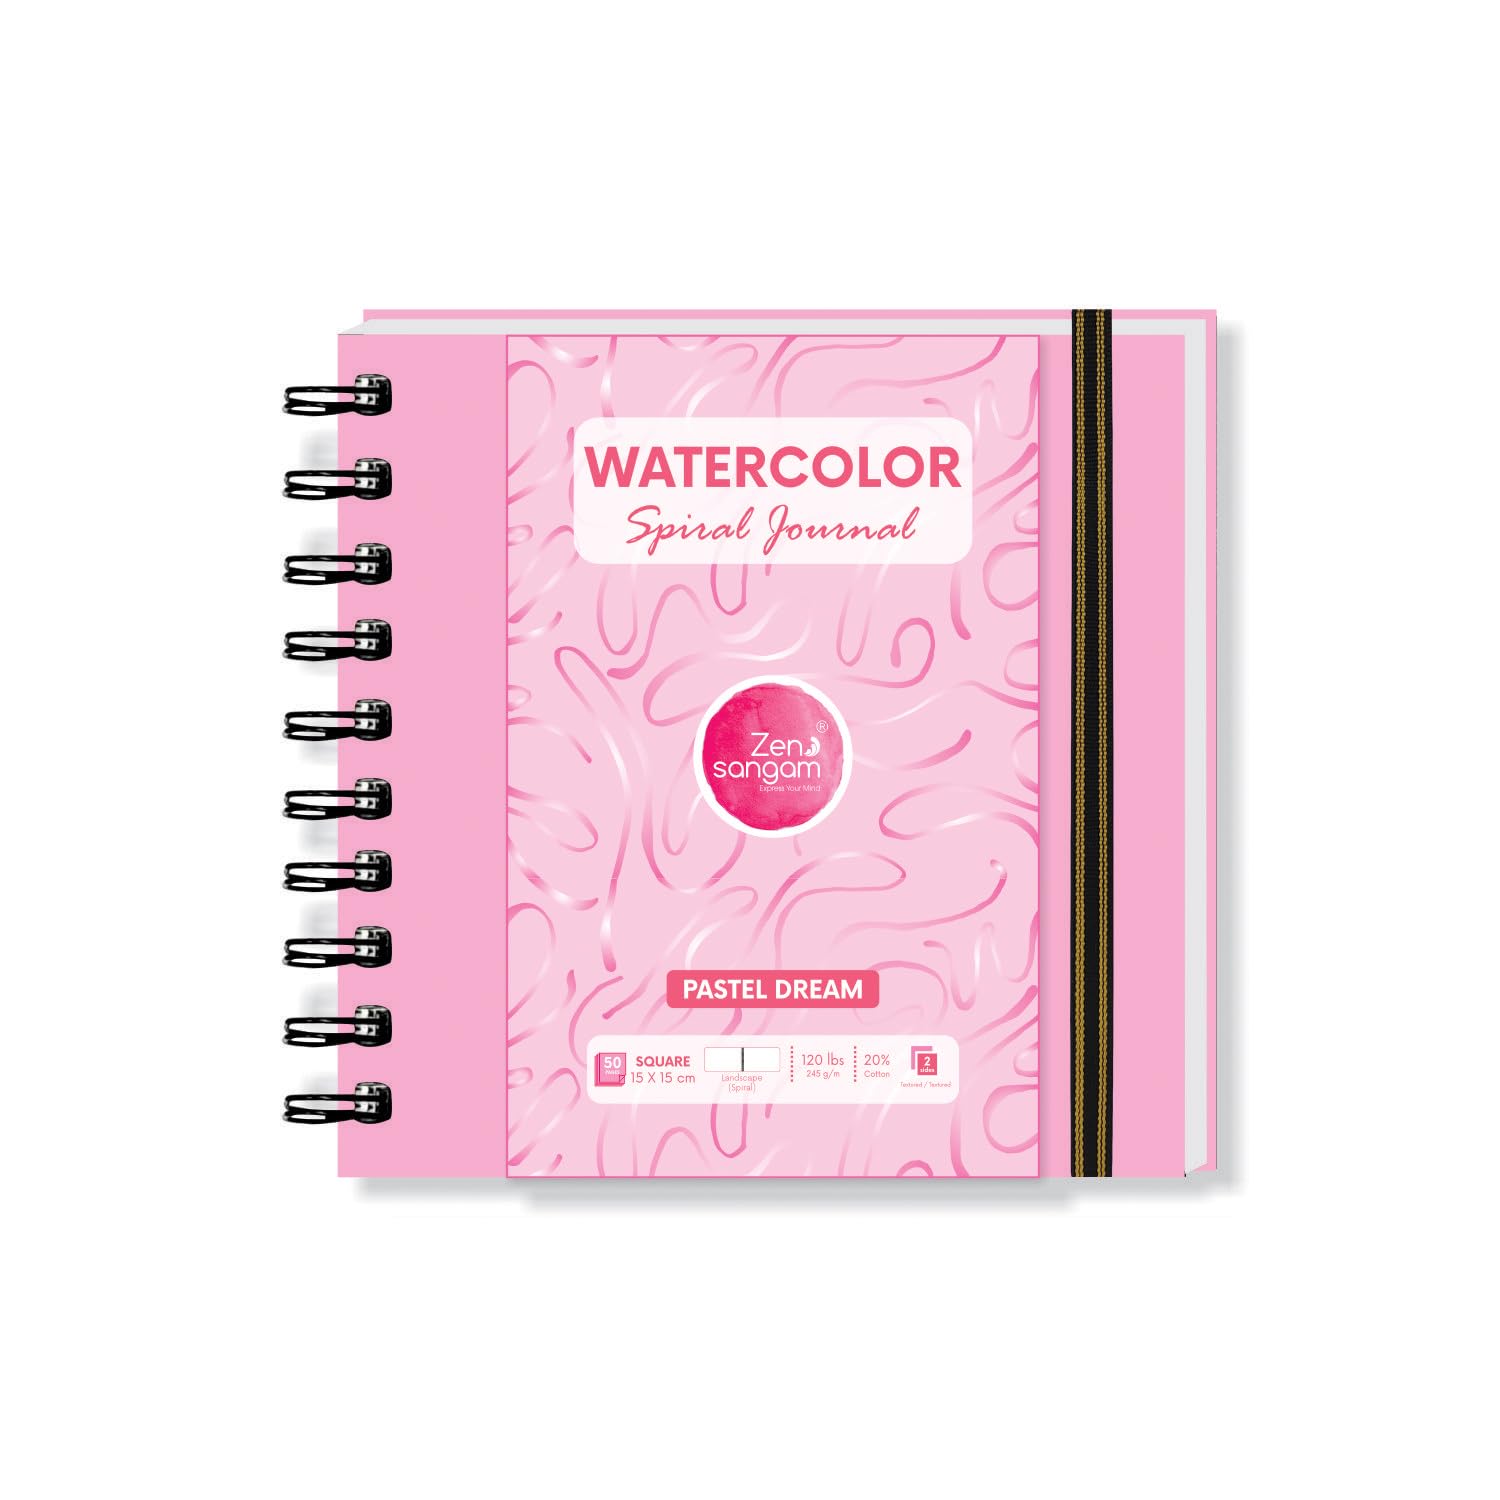
Zen Sangam's Watercolour Journals
Zen Sangam's Watercolour Papers,

Article by Artist Snigdha
